
 This was a class that Eric found for me since I like to bake and it was the same kitchen from our earlier cooking class together. I got so much more out of the class than just croissants. 🙂

Lucy is well-organized and kept us on track throughout the afternoon. We made the dough first, using scales for measurement versus cup & spoons like at home. Eric has already said he has a scale on his wish list.

We measured and mixed the dough first, with Lucy giving us plenty of opportunity to see (and touch) the various stages, allowing us to see differences. Two important things for the dough – use the best ingredients you can find, especially for the flour and the butter. The dough chilled while we flattened the butter. It’s not quite as easy as it sounds.


We spent time folding the paper to get used to how we would be folding in the butter.


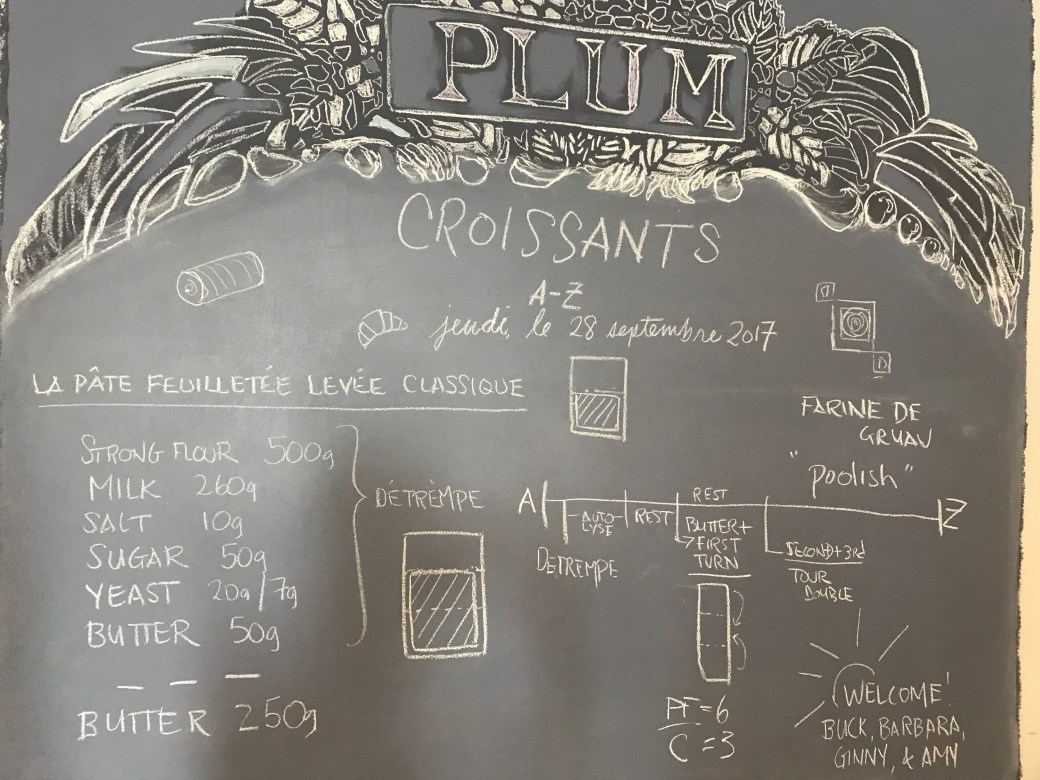
Words cannot easily describe the folding, but luckily Lucy drew pictures on the chalkboard for remainders. One thing she said to always keep in mind, the outside fold should be on the left, like the spine of a book.
Before rolling out the dough, the ends need to be pressed to ensure that butter doesn’t seep out the ends.
 Then continue rolling out the dough. One neat trick she shared was to press an indentation in the middle of your dough when rolling as it helps keep the ends ‘square’. I can definitely use that when making cinnamon rolls.


Next steps include cutting the dough and rolling up the croissants.


After proofing, an egg wash was added before going into the oven.

Ahhhhh, but we were not done. Using the same dough, we made ‘pain chocolate’ (chocolate croissants) and another pastry with apple roses.
I just have a few photos of the pain chocolate and you can’t see the baking chocolate that is already wrapped inside the dough.


Our third ‘bonus’ with this dough was our last pastry. We made the apple roses first by thinly slicing (with a mandolin) apples, micro-waving the slices to soften the fruit before wrapping them in a roll…………..which ends up looking like a rose.
 The left over pastry was cut into squares, two ‘L’ slits were created, then folded to the opposite corners. A dab of apricot jam was added before placing the rose on top.


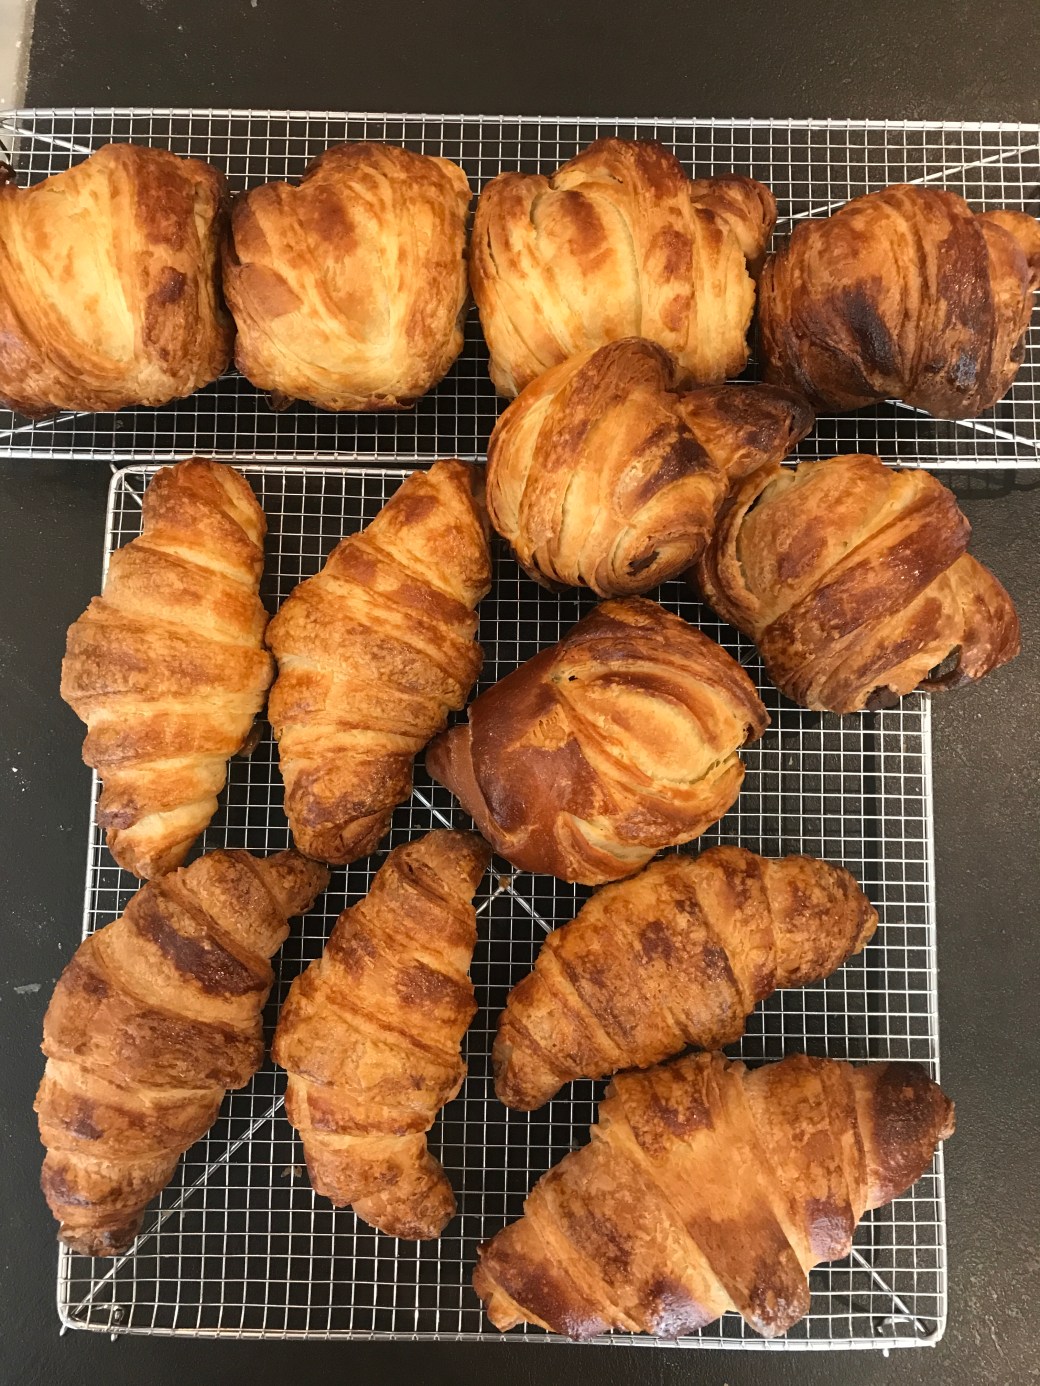
And the finished pastries………….. top rows (6) are the pain chocolate with the croissants below.
There were four of us in the class and we divided up the finished pastries.
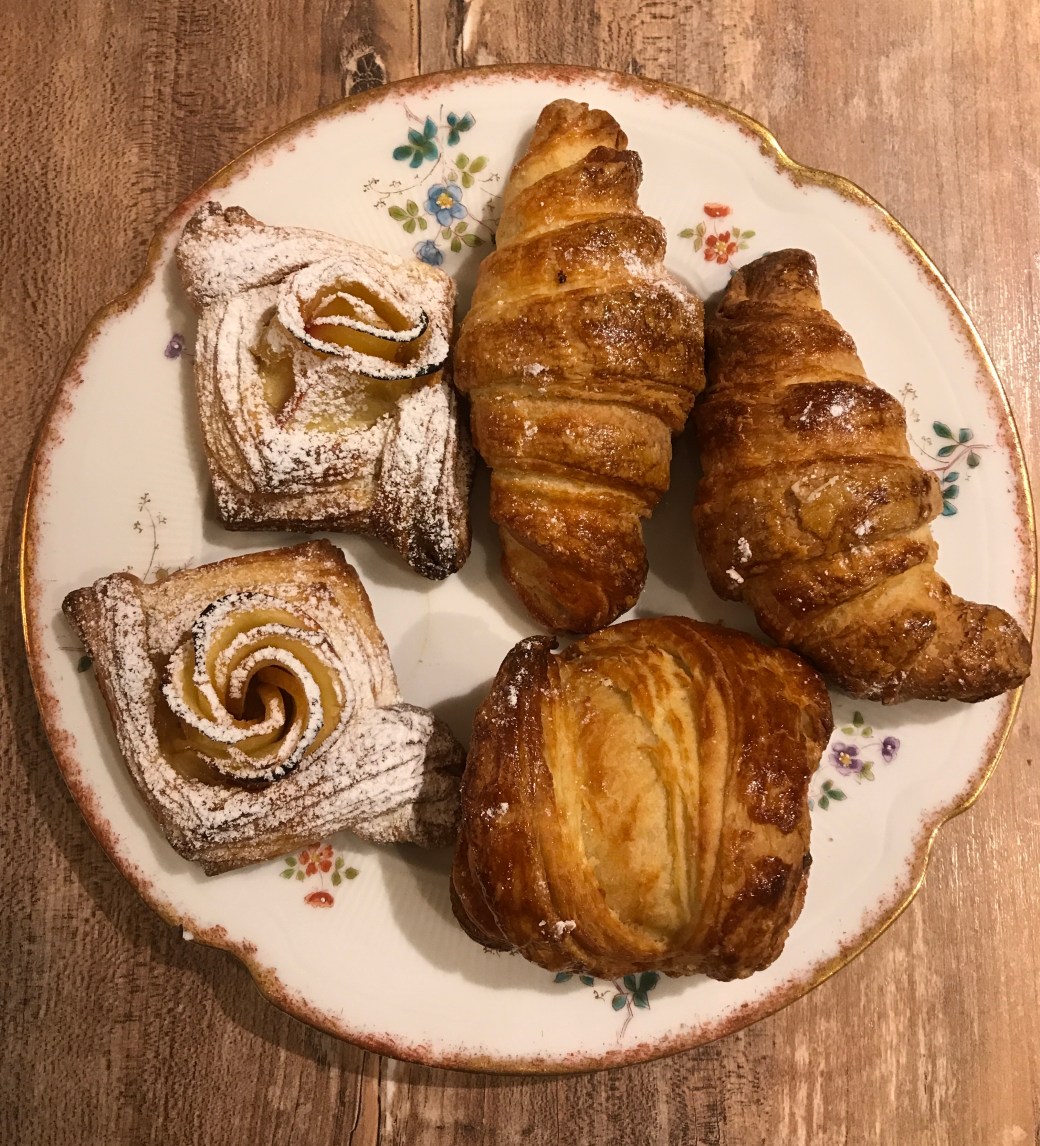
I think my favorite was the apple rose Danish. 🙂
LOVED the versatility of the chalk board. She gave us paper copies of the recipe to take home.
The time in Lucy’s teaching kitchen was time well spent. I won’t be buying any more frozen pastry from Pillsbury.
